
Gluten-free Sugar Cookie Pie Crust

See our Instagram stories for a demonstration!
Ingredients:
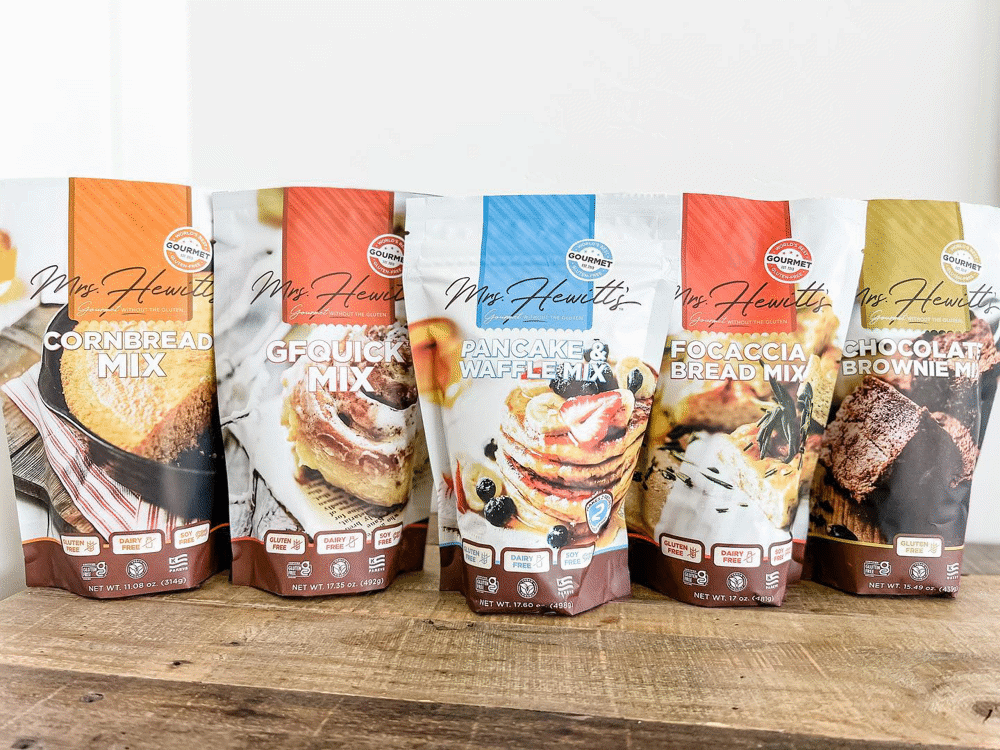
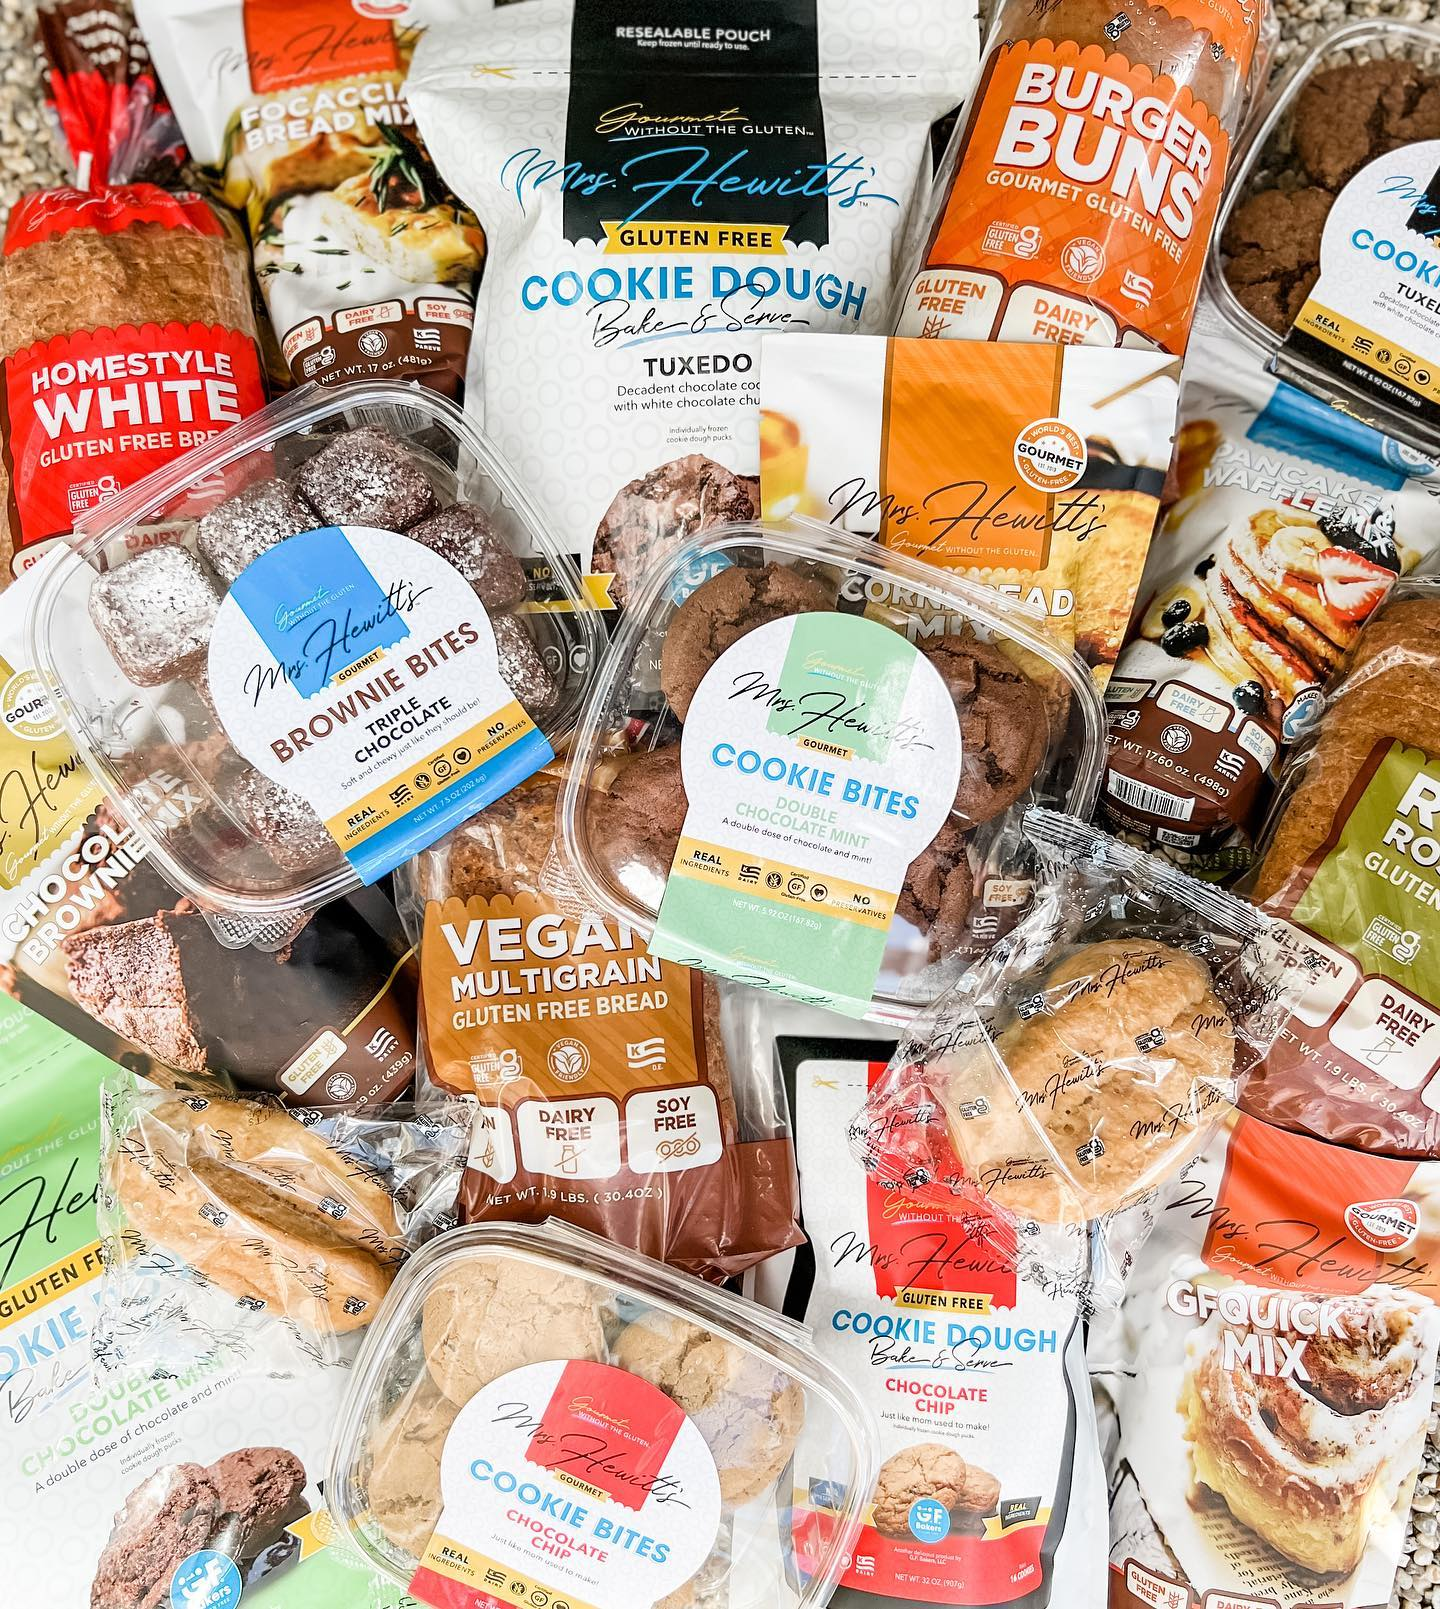
- 1 bag Mrs. Hewitt’s frozen Sugar Cookie Dough (thawed)
- 1 9” pie pan (do not grease)
- plastic wrap
- rolling pin
Directions:
- Put the bag of dough in the fridge to thaw. I did this overnight.
- Set the bag of dough on the counter for just a few minutes to warm slightly, and preheat the oven to 350 degrees.
- Work 8 pieces of dough into a single ball of dough. As it warms it gets sticky, so work quickly!
- Make a dough ball into a 6” disk and wrap in plastic wrap.
- Refrigerate for 10 minutes.
- Put a couple layers of plastic wrap on the counter where you’ll roll out the dough.
- Remove from the fridge and roll out dough between pieces of plastic wrap until large enough to cover a 9” pie pan, about 12”. The plastic wrap will make it easy to move and keep it from sticking.
- Remove top layer of plastic wrap, turn into pie pan, press gently into pan, remove bottom layer of plastic wrap.
- Trim the top line of the crust so it is level with the top of the pan. Do not have it wrap over onto the top because it will separate while cooking. I learned this the hard way and had to try to rework it together while it was blazing hot out of the oven—then ended up trimming it after all.
- Cover the crust in plastic wrap and freeze for 30 minutes.
- Uncover and bake for 15-20 minutes until golden brown.
- While it bakes it will puff up. As soon as it comes out of the oven, you want to gently press it down. I wrapped a ball of pie weights and gently pressed it all over the crust, but you could easily wrap a ball of paper towels and use that. Have whatever you’re going to use ready before it comes out of the oven. The harder you press it down the more dense your crust will be so if you like something lighter press very gently, or harder for something sturdier.
- Cool completely and fill with your favorite NO BAKE filling. This is not a crust that will work well with double baking.